jekyll로 블로그 만들기 feat. github pages
repo 만들기
repository를 만들어 줍니다
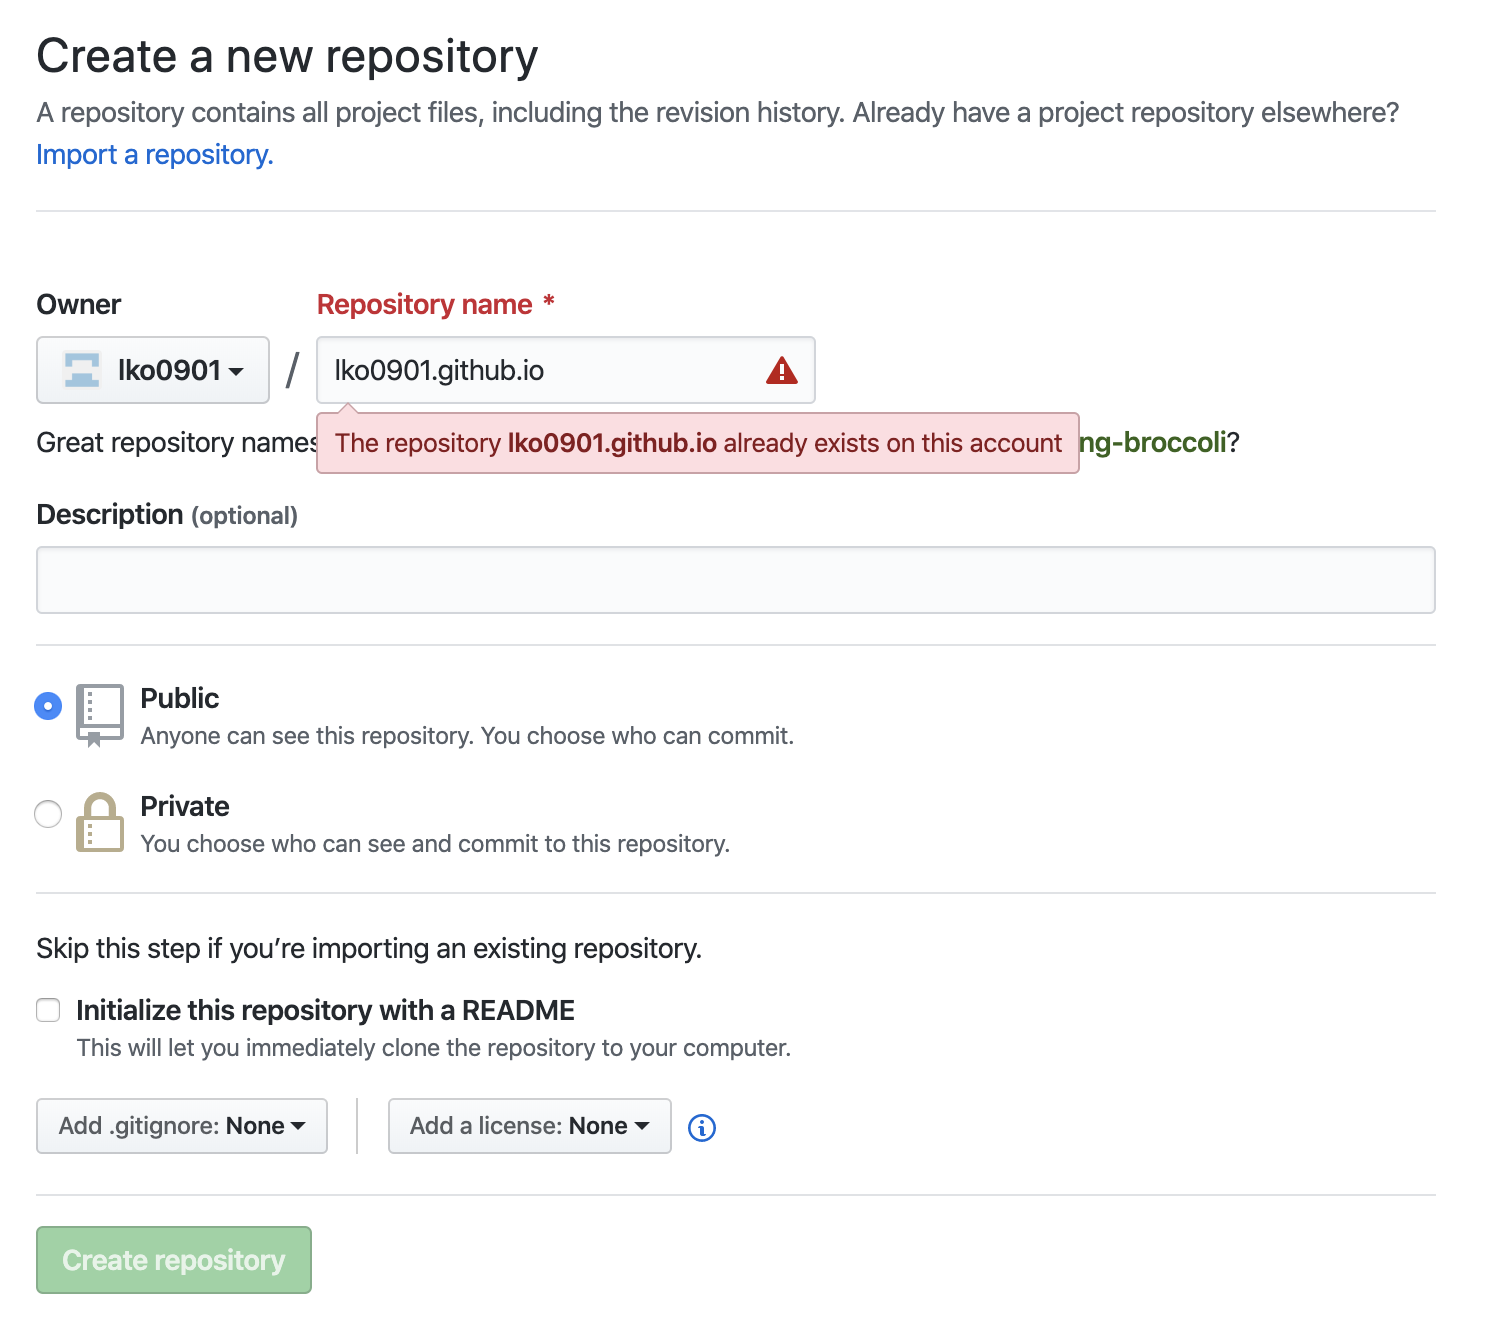 여기서 주의하실 점은 {username}.github.io와 같이 내 username과 동일하게 입력하셔야 한다는거!
소스 올리기
// 내 repo 클론
# git clone {내가 만든 repo url}

// 남의 repo 클론
# git clone https://github.com/mmistakes/minimal-mistakes.git

// 씨잘데기 없는 걸 지워줍니다
# cd minima-mistakes
# rm -rf .editorconfig .gitattributes .github /docs /test CHANGELOG.mdminimal-mistakes-jekyll.gemspec README.md screenshot-layouts.png screenshot.png

// 내 repo로 복사해줍니다
# cp -R * ../{내가 만든 repo 폴더}

// 내가 만든 repo 폴더로 이동해서 정적페이지를 만들고 push 해봅시다
# cd {내가 만든 repo 폴더}

// bundler가 없다면 설치 후 실행
# bundle exec jekyll build

// repo에 push
# git add *
# git commit -m "init"
# git push -u origin master
잠깐의 시간이 흐른 뒤, repo name과 동일한 url로 접속해봅시다!
페이지 만들기
프로젝트 폴더에 _pages 폴더를 만들고, 새로운 md 파일 생성
---
title: about
layout: single
permalink: /about
---
## about
내용
만들어진 파일을 origin에 push하면 ‘https://{username}.github.io/about’로 접근할 수 있는 페이지가 됩니다!
posts 작성하기
프로젝트 폴더에 ‘_posts’폴더를 만들고, 새로운 md 파일 생성
파일명은 년-월-일-제목.md로 생성해야 합니다
---
title: 제목
layout: single
date: 2019-01-03 16:04:00 +0900
categories: {글에 해당하는 카테고리}
---

## 글작성!
만들어진 파일을 origin에 push하면 ‘https://{username}.github.io/{카테고리}/{글제목}’로 접근할 수 있는 게시물이 됩니다!